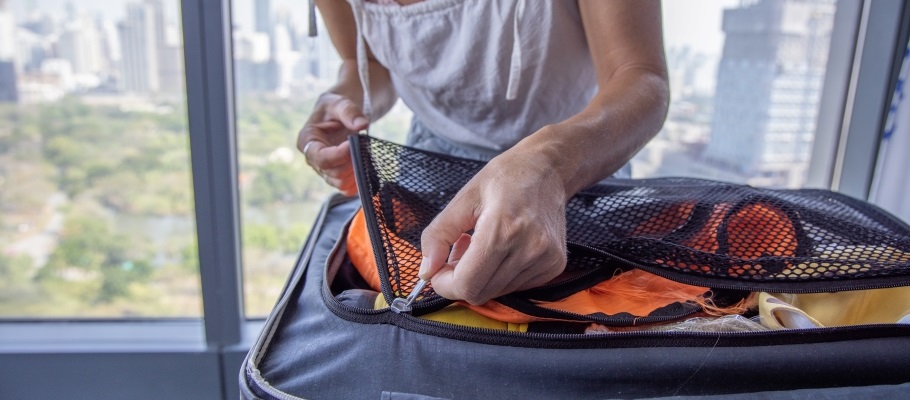
Zippers are an essential part of many pieces of clothing, from jackets to pants to bags. But what happens when a zipper breaks or gets stuck? All too often, we simply throw away the item and buy something new. Cathy S., a seasoned volunteer at Hennepin County’s monthly Fix-It Clinics, knows the value of a good zipper and living a low-waste lifestyle. “Extending the useful life of your clothing keeps them out of landfills,” said Cathy.
It's best to fix a zipper early to prevent the problem from getting worse. The good news is that repairing a zipper is easier than you might think and can save you money while reducing your environmental impact. “It's important that people know how to do these simple fixes because no one wants to be without their favorite jacket,” said Kelly O. who volunteers alongside Cathy at the Fix-It Clinic mending station.
Read on to learn how to fix common zipper problems and give new life to your favorite clothing items.

Common zipper problems and how to fix them
Before you start your zipper repair, it's important to understand how it works. A zipper consists of two rows of interlocking teeth, which are pulled together by a slider. Problems can occur when:
- The teeth become misaligned because of a loose or damaged slider, or
- The teeth become worn or bent.
Fortunately, these zipper problems can often be fixed with a few simple tools and techniques.
“Most zipper repairs can be done by the average person. A pair of needle-nose pliers is the main tool you’ll need,” said Cathy.
Loose zipper slider
One of the most common problems with zippers is that the slider becomes loose or falls off. This can also cause the teeth to not stay together anymore. To fix this problem, you'll need to tighten the slider.
“This is where your needle-nose pliers comes in. The slider needs a little squeeze along each side to tighten up its connection to the teeth. Squeeze a little, then test. Squeeze a little, then test again. Do that until the teeth stay together. Don't over squeeze! Then that's a new problem,” said Kelly.
Damaged zipper slider
If the slider is damaged, you’ll need to replace it. To do this, remove the old slider from the teeth by using pliers to open the sides and pull it off. Then, slide the new slider onto the teeth and use pliers to squeeze it into place. Make sure the slider is centered and moves smoothly up and down the teeth.
Stuck zipper slider
If the slider is stuck, often it means that the teeth aren’t lubricated. Use a pencil to rub graphite onto the teeth or use a lubricant like WD-40 to loosen it.
Worn or bent zipper teeth
Another common problem with zippers is that the teeth become worn or bent, preventing the zipper from closing properly. To fix this problem, use a pair of pliers to gently straighten any bent teeth. If the teeth are too worn or many are missing, you may need to replace the zipper entirely.

How to replace a zipper
If the zipper has separated, or is too damaged to be repaired, you may need to replace the entire zipper. Remember, you can replace a zipper on your item without needing to replace the entire item.
If you need to sew a new zipper, follow these steps:
- Choose the right zipper: Make sure you choose a zipper that is the right length and color for your project. You can find zippers at most fabric and craft stores.
- Remove the old zipper: Use a seam ripper to carefully remove the old zipper from your project.
- Prepare the new zipper: If your zipper is too long, you can trim it to the right length using scissors. Then, use a lighter to melt the end of the zipper to prevent it from fraying.
- Pin the new zipper in place: Pin the new zipper to your project, making sure it is centered and straight.
- Sew the new zipper: Use a sewing machine or needle and thread to sew the new zipper in place. Start at the bottom of the zipper and sew up one side, across the top, and down the other side.
- Test the new zipper: Once you've sewn the new zipper in place, test it to make sure it opens and closes smoothly.
Get help repairing or replacing your broken zipper
If you're not comfortable repairing a zipper yourself, there are many businesses that offer zipper repair services. Local tailors, seamstresses, or alteration shops are great places to go for zipper repair services. Some dry cleaners also offer zipper repair. You can also check with outdoor gear stores, as some have experience repairing zippers on jackets, tents, sleeping bags, and backpacks. Repair Lair and Thrifty Outfitters are good local Minneapolis options.
“Shoe repair stores are great for odd-shaped items like purses. They have machines that can get into places regular sewing machines can't,” said Kelly.
If you can’t find another local option for help repairing your broken zipper, bring it to an upcoming Fix-It Clinic and get help from Cathy, Kelly, or another volunteer. Find a list of upcoming Fix-It Clinics at hennepin.us/fixitclinic

Show off your style while helping the environment
“A shabby zipper can ruin an otherwise awesome jacket or backpack,” said Kelly. By repairing or replacing your broken zippers, you can give your clothing a fresh look and make it uniquely your own.
You also save money and build a more sustainable wardrobe, reducing the demand for new clothing. “Financially, repair makes sense for everyone!” said Cathy.
By repairing zippers on your clothing and gear instead of throwing them away, you can express your creativity, save money, and reduce your environmental impact. With a few simple tools and techniques, you can give new life to your favorite items and keep them looking great for years to come.
